
Blog
How to Install a Mini Split System
Nov
Installing a mini-split system involves several steps and is typically best done by a licensed HVAC (Heating, Ventilation, and Air Conditioning) professional. However, if you have experience with electrical work (we always recommend you hire a licensed electrician) and are comfortable with basic construction tasks, you can attempt the installation yourself. Keep in mind that improper installation can lead to performance issues and may void the warranty. Here’s a general guide for installing a mini-split system:
Materials and Tools:
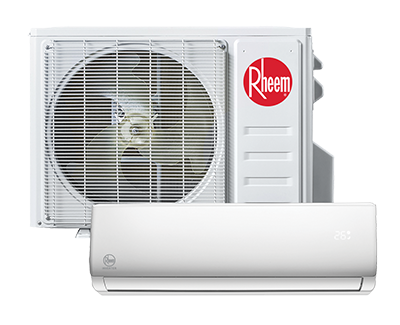
- Mini-split system (indoor and outdoor units)
- Mounting bracket for the outdoor unit
- Refrigerant line set
- Condensate line
- Electrical whip
- Disconnect box
- Circuit breaker
- Drill with masonry bit
- Wrenches
- Copper tubing cutter
- Flaring tool
- Vacuum pump
- Manifold gauge set
- Pipe insulation
- Electric drill
- Level
- Screwdrivers
- Pipe wrench
- Torque wrench
- PVC conduit and fittings
- Condenser pad or wall mounting kit
Installation Steps:
- Select the Location:
- Choose the location for the indoor and outdoor units.
- Ensure that the wall or surface can support the weight of the indoor unit.
- Place the outdoor unit in a well-ventilated area, free from obstructions.
- Install the Indoor Unit:
- Mount the indoor unit on the selected wall, using a mounting bracket.
- Ensure the unit is level.
- Drill a hole through the wall for the refrigerant and condensate lines.
- Install the Outdoor Unit:
- Mount the outdoor unit on a condenser pad or using a wall mounting kit.
- Connect the refrigerant lines between the indoor and outdoor units.
- Connect the condensate line.
- Electrical Connections:
- Connect the electrical whip to the outdoor unit.
- Install a disconnect box and circuit breaker.
- Connect the wiring according to the manufacturer’s instructions.
- Refrigerant Line Installation:
- Use a copper tubing cutter to cut the refrigerant lines to the appropriate length.
- Use a flaring tool to flare the ends of the tubing.
- Connect the tubing to the indoor and outdoor units.
- Vacuum and Refrigerant Charge:
- Use a vacuum pump to evacuate air and moisture from the refrigerant lines.
- Connect a manifold gauge set and charge the system with the specified amount of refrigerant.
- Insulate Pipes:
- Wrap the refrigerant lines with pipe insulation to prevent energy loss.
- Test the System:
- Turn on the mini-split system and test the cooling and heating functions.
- Check for any leaks and ensure proper airflow.
- Final Checks:
- Tighten all connections.
- Check that the system operates quietly and efficiently.
Remember, these steps provide a general overview, and it’s crucial to follow the specific instructions provided by the mini-split system manufacturer. If you’re unsure about any step or lack the necessary skills, it’s advisable to consult with a professional HVAC technician. Additionally, local building codes and regulations must be followed during the installation process.